> ## Documentation Index
> Fetch the complete documentation index at: https://docs.equalsmoney.com/llms.txt
> Use this file to discover all available pages before exploring further.
# Use the Postman collection
> A Postman collection is an organised set of requests that allows you to easily test an API. The Equals collection includes all of our available
# Use the Equals Postman collection
A Postman collection is an organised set of requests that allows you to easily test an API. The Equals collection includes all of our available endpoints and can be used in both sandbox and production environments.
While we do our best to ensure that the collection is up to date, our [API reference](/api-reference/) is considered the ultimate source of truth.
## Before you start
To use our Postman collection, you'll need to:
* have an API key
* ensure your IP address is whitelisted
This can be configured by our implementation team, who will whitelist the IP address(es) you provide, generate an API key for your sandbox environment, and share it with you.
Once your integration passes our certification process, we'll provide you with an API key for your production environment, which can also be used with the collection, if needed.
## Step 1: fork the collection
To get started, you first need to create your own fork of our Postman collection and save it to your workspace.
1. Sign up for an account or log in to an existing one on postman.com.
2. Click the button below:
 3. Choose **Fork Collection**.
4. Give the fork a label and choose a workspace to save it to.
5. Tick **Watch original collection**. This means you'll be notified when we update our collection.
6. Select **Fork collection**. The fork is created and added to your chosen workspace.
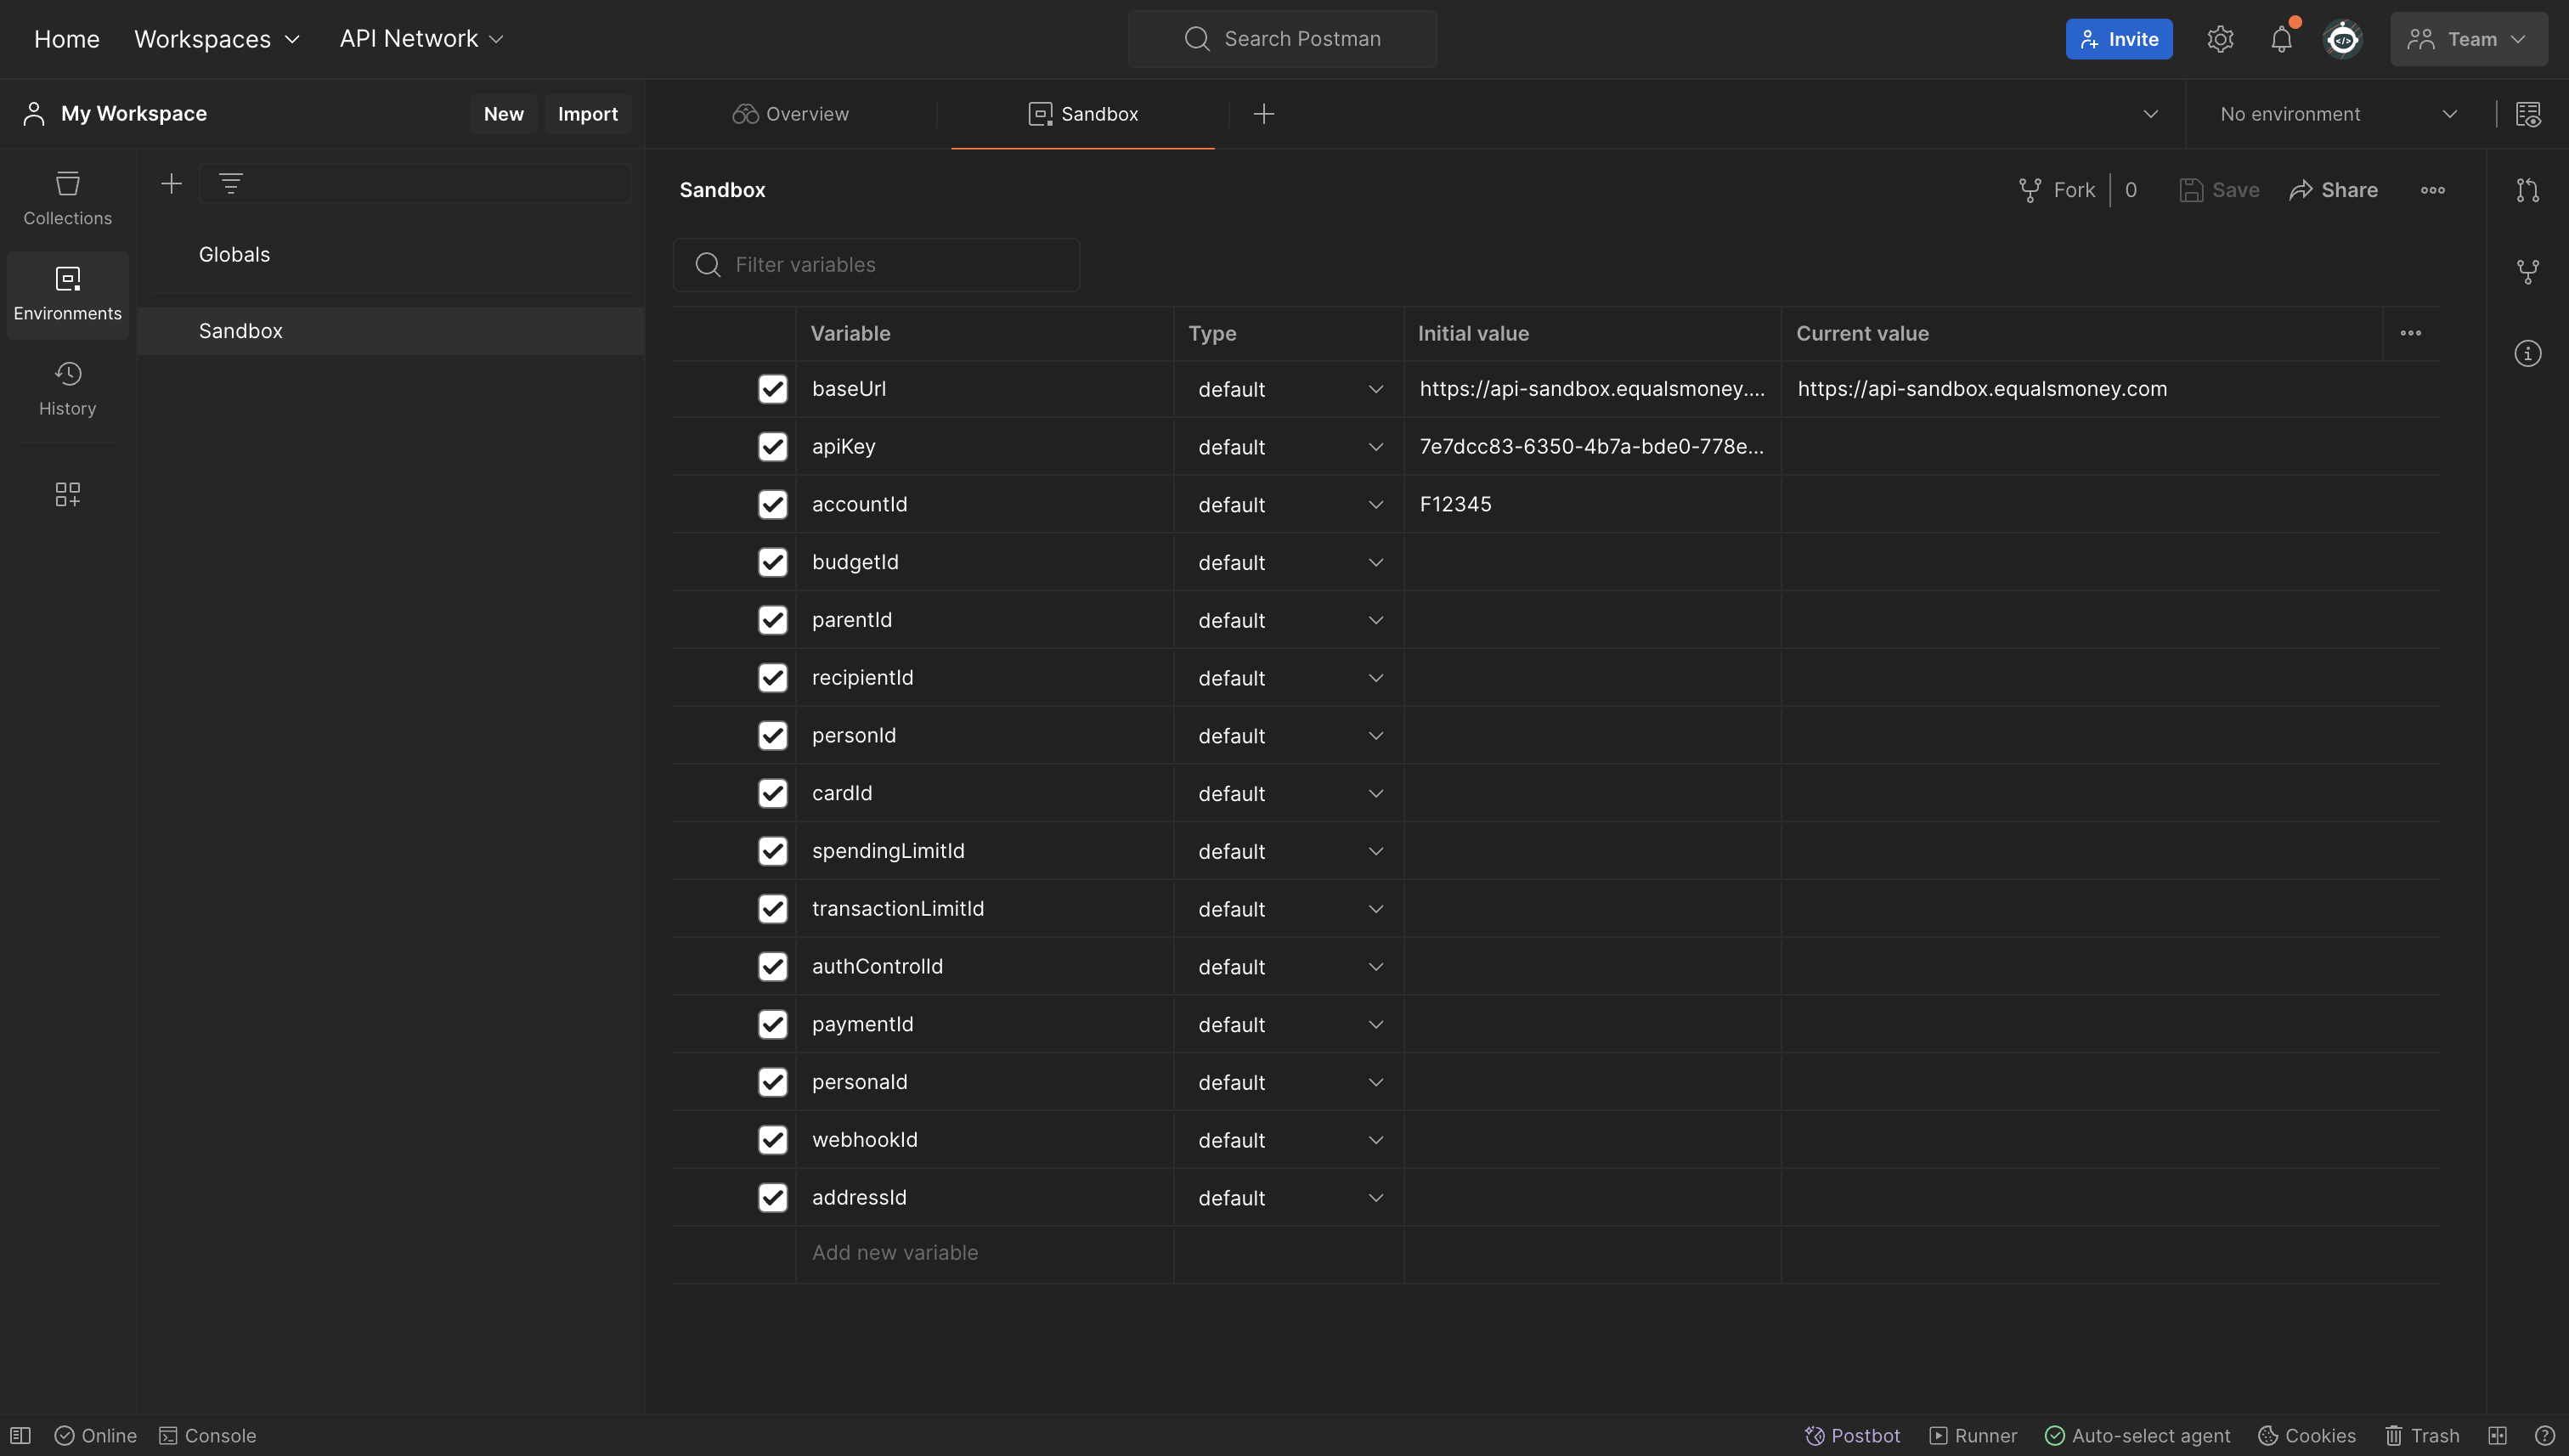
## Step 2: set up your environment
To make using the collection easier, we've used variables throughout. This allows you to update key information, such as your API key or account ID, in one location and automatically apply it to the entire collection.
1. In your Postman workspace, select **Environments**. You should see that there is already a set of variables called *Sandbox*.
2. Select **Sandbox**.
3. Add your sandbox `apiKey` to the **Initial value** column and click **Save** in the top right.
3. Choose **Fork Collection**.
4. Give the fork a label and choose a workspace to save it to.
5. Tick **Watch original collection**. This means you'll be notified when we update our collection.
6. Select **Fork collection**. The fork is created and added to your chosen workspace.
## Step 2: set up your environment
To make using the collection easier, we've used variables throughout. This allows you to update key information, such as your API key or account ID, in one location and automatically apply it to the entire collection.
1. In your Postman workspace, select **Environments**. You should see that there is already a set of variables called *Sandbox*.
2. Select **Sandbox**.
3. Add your sandbox `apiKey` to the **Initial value** column and click **Save** in the top right.
 ## Step 3: send your first request
Now that you're all set up, you're ready to send your first request. In this example, we'll be creating a new account.
1. In your Postman workspace, select **Collections**.
2. Select the **No Environment** drop-down in the top right and choose **Sandbox**.
3. Select **Equals API** in the left menu to expand the collection.
4. Select **Accounts & onboarding > Create accounts > Create an account**.
5. Choose one of the account types and click **Try**. A successful call returns a `200 OK` response code.
If you receive a `403 Forbidden`, this most likely means your IP address hasn't been whitelisted. Please contact your implementation manager.
## What's next?
Try the **List all accounts** request to view details about the account that you've just created. Make note of the `id` and save it as your `accountId` environment variable. You should try to save new variables as you work your way through the different requests.
## Step 3: send your first request
Now that you're all set up, you're ready to send your first request. In this example, we'll be creating a new account.
1. In your Postman workspace, select **Collections**.
2. Select the **No Environment** drop-down in the top right and choose **Sandbox**.
3. Select **Equals API** in the left menu to expand the collection.
4. Select **Accounts & onboarding > Create accounts > Create an account**.
5. Choose one of the account types and click **Try**. A successful call returns a `200 OK` response code.
If you receive a `403 Forbidden`, this most likely means your IP address hasn't been whitelisted. Please contact your implementation manager.
## What's next?
Try the **List all accounts** request to view details about the account that you've just created. Make note of the `id` and save it as your `accountId` environment variable. You should try to save new variables as you work your way through the different requests.